
How to host your node application and service on zoho catalyst?
This blog will familiarize you with setting up the Catalyst work environment within minutes. With this blog, you can quickly learn the basic steps involved in developing a Catalyst application.
Step 1: Go to Zoho Catalyst https://catalyst.zoho.com/. Enter your login credentials and then click on create a Catalyst project as to develop a Catalyst application the first step to be followed is to create a catalyst project for it.
Steps to be followed:
- Click Create a new Project after login to the Catalyst console.
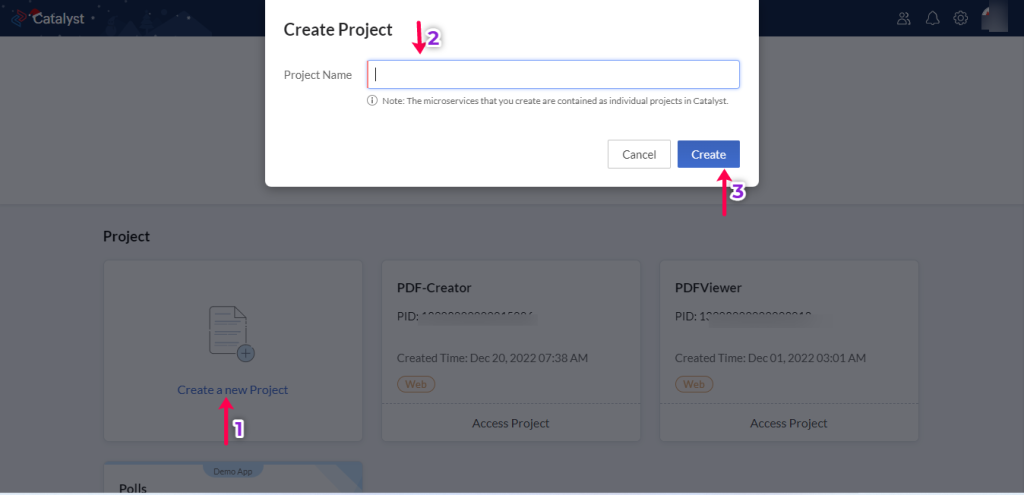
- In the pop-up window enter the project’s name.
- Click Create after reading and accept Zoho Catalyst’s terms of service.
- Now to open it click Access Project.
Step 2: Install Catalyst CLI
To develop, test, and deploy Catalyst applications from your local system we have to install Catalyst CLI .
The command to be execute in the terminal:
$ npm install -g zcatalyst-cli

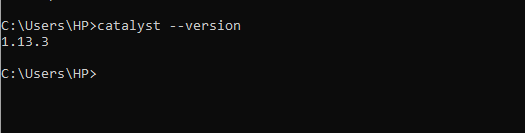
To verify if the CLI is properly installed the following command has to be executed:
$ catalyst –version
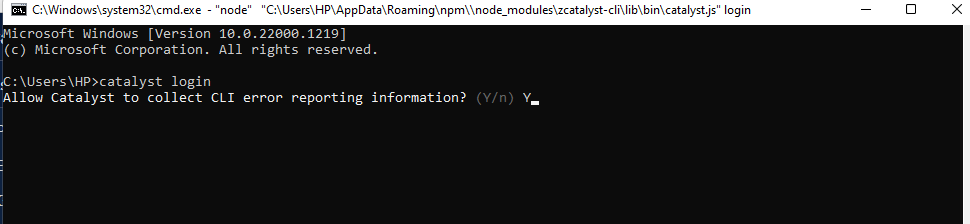
Step 3: Log in from your CLI.
The command to be executed for logging into your Zoho account from the CLI is:
$ catalyst login
Steps to be followed:
- Press Y will allow Catalyst to collect CLI error reports. After that press Enter.
- Sign in into the Zoho accounts login page using your credentials.
- To provide data access permissions to the CLI, click Accept.
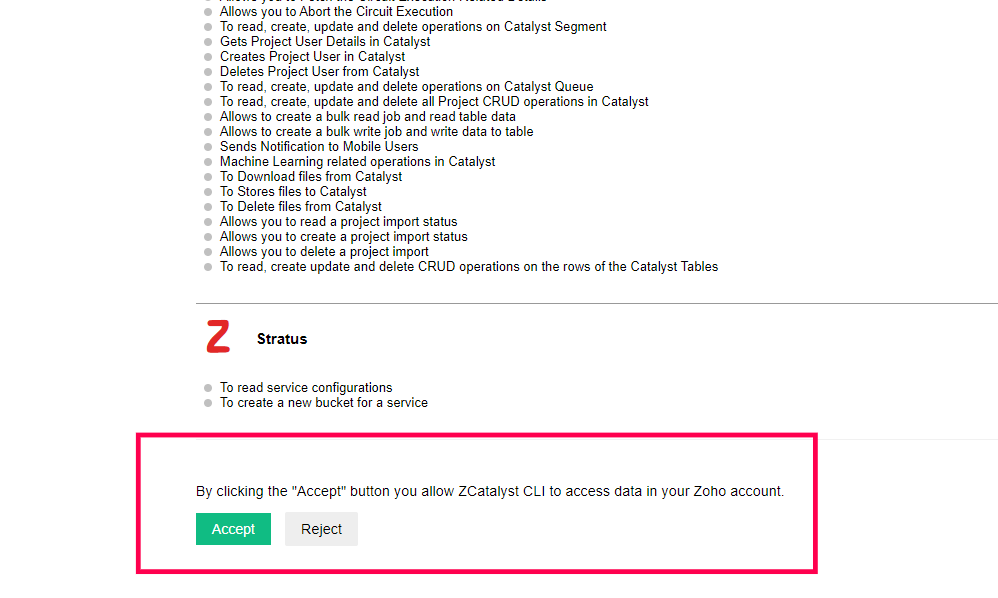
- Now continue using the CLI in your terminal after closing the browser window.
Step 4: Start the project from the CLI
- On your local machine create a folder for the project and navigate to it from the terminal.
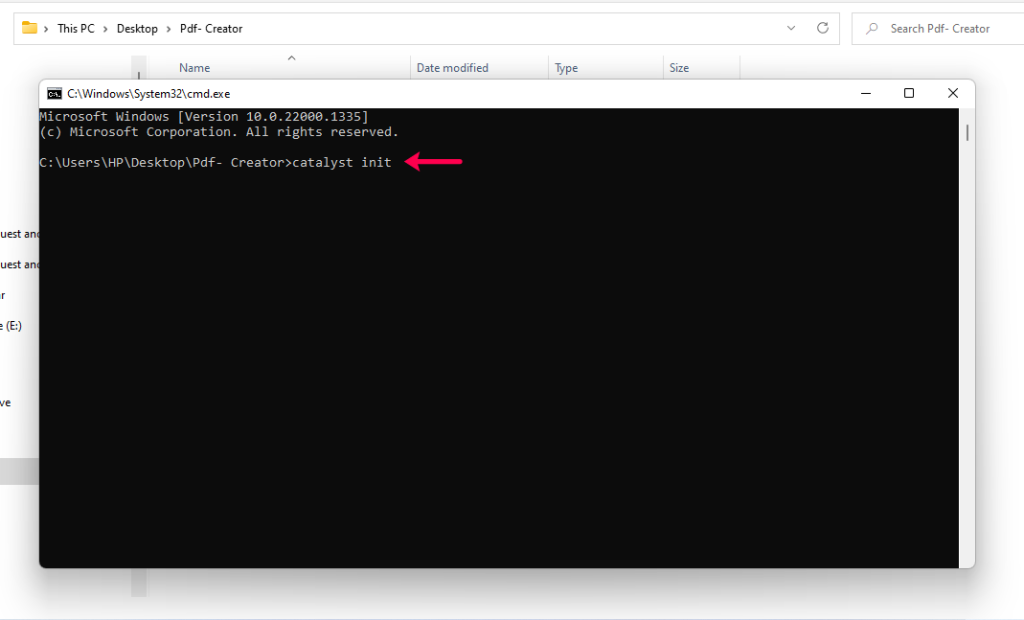
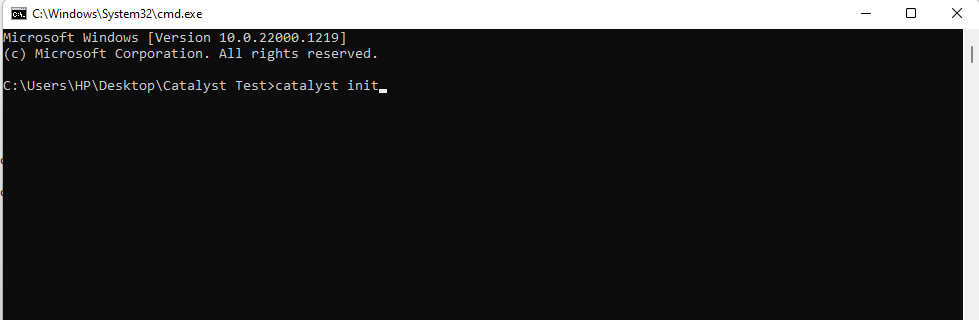
- To initialize a Catalyst project use the following command from that directory in it:
$ catalyst init
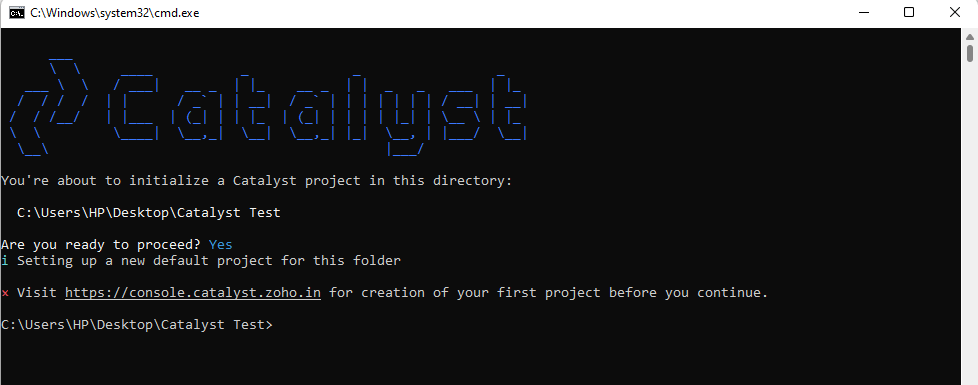
Note: Although subsequent projects can be created directly from the CLI but the first catalyst project can only be created from the web console, and not from the CLI.
- Press Enter after selecting the components that are needed to set up the Catalyst application.

- Again press Enter after associating the directory with the Catalyst project by selecting a project from the list.
- Here, we created a new project and named it as Pdf-Creator.


- If you want to initialize a function, Choose a function type, initial stack size and press Enter.

- Here, we selected Functions and Clients according to the requirement.

- In functions, the type of function created here is AdvanceIO. Click Enter after selecting the function.

- Here, node16 version is used. You can use any of these according to the requirement.
- Also, If you want simply initialize a Java function, provide the reference name and main class name, and install the Catalyst Java SDK package.

- If you initialize a Node.js function, provide the values for the package name, the entry point file name, and the author’s email address. Install the dependencies when prompted.
- If you initialize the client, provide a name for the client package.

- The type of client initialization is Basic Web app.

- The project directory will set up with all the necessary dependencies and configuration and the components will get installed.
Step 5: Application Development
The components that you initialized in your Catalyst project can now be worked on. You’ve got the code, now you can use any IDE tool of your choice to work on it.
If you still have questions about the Catalyst SDK and API resources, you can use the following help documentations :
• Java SDK help documentation
• Node.js SDK help documentation
• Web SDK help documentation
• Android SDK help documentation
• iOS SDK help documentation
• API help documentation
Now you can develop and test your application from the Catalyst console and the CLI as well. And you can also work with the Catalyst components.
Step 6: Testing the application locally
You can test the Catalyst application or microservice, that you developed locally from the CLI before deploying it to the Catalyst web console.
The following command execute from your project directory (CATALYST_PROJECT_HOME):
$ catalyst serve
Note: You can also launch an Node shell from the CLI to test the functions. Also, You can access the client from its local URL displayed in the CLI, and test it.
Step 7: Deploying the project
You can deploy the application to the remote console by executing the following command from the project directory. This has to be done after testing the application:
$ catalyst deploy
The application you created can now be accessed from its web app URL in the Development environment. If you want to access the application in the Production environment then, You need to set up Catalyst payments and deploy the project to production.
Note: You can also host the application in Development directly from the console through web client hosting. Also, You can host and distribute a mobile application using Mobile Device Management.
Example: We have already created a project using zoho catalyst and node js, We created dynamic pdf generator according to the client requirement. The description of how to host your node application and service on zoho catalyst is given below:
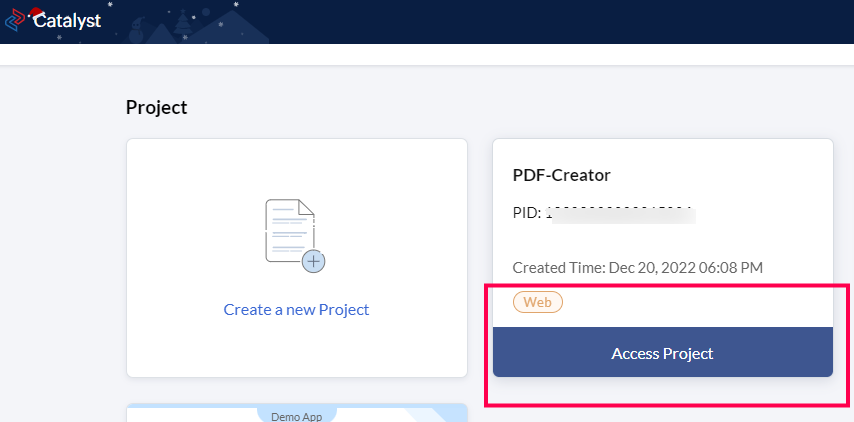
Create a Catalyst project.
Here, the name of the project is PDF Creator. Now Click on Access Project
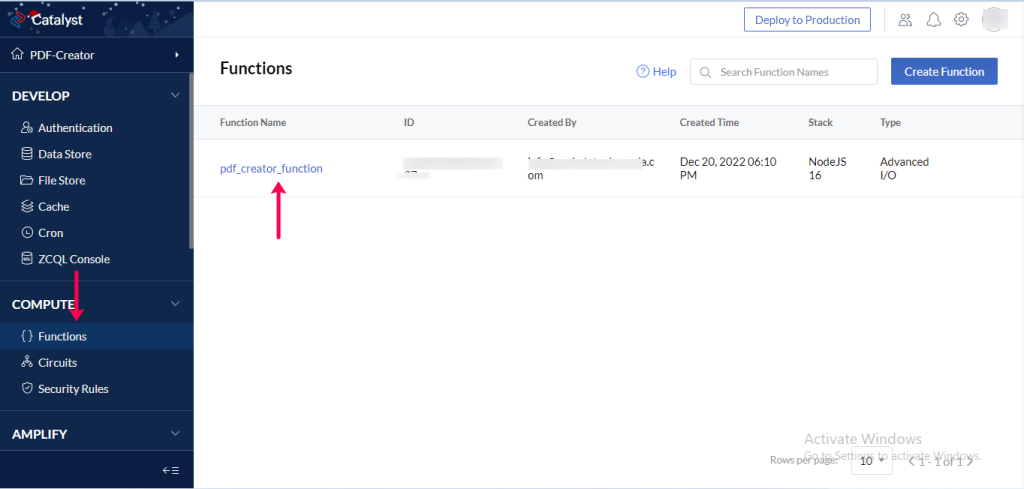
- Now Click on Functions tab and then Click on the name of the project.
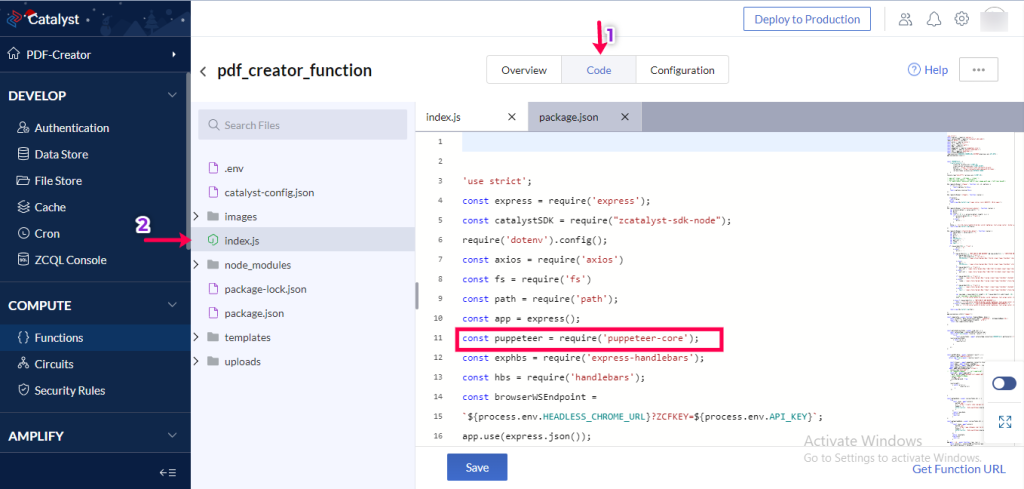
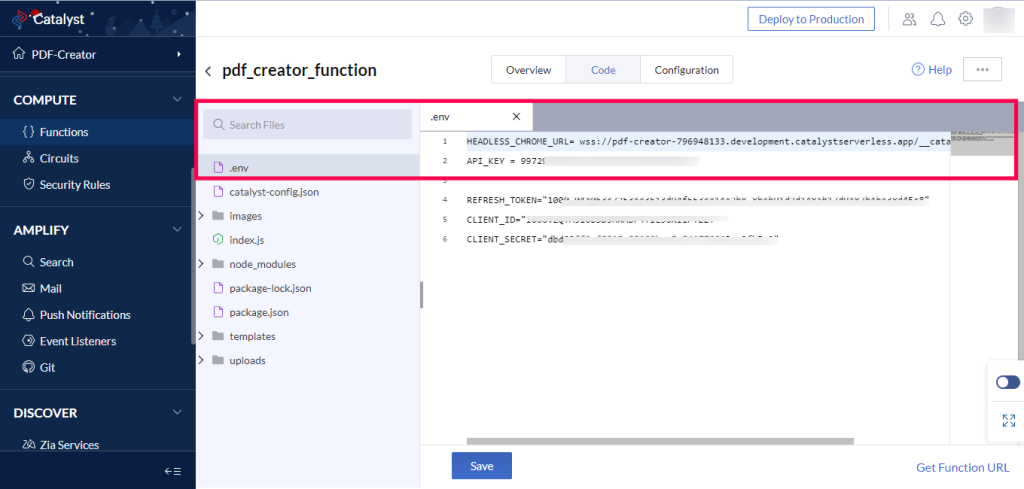
Now click on Code tab, You will see several files. You need to install puppeteer library and access it in index.js. .env, environment variable is used. (first file)
- Now Click on Add on Service tab, here you need to enable “Headless Chrome” service by mailing to su*****@**********st.com.
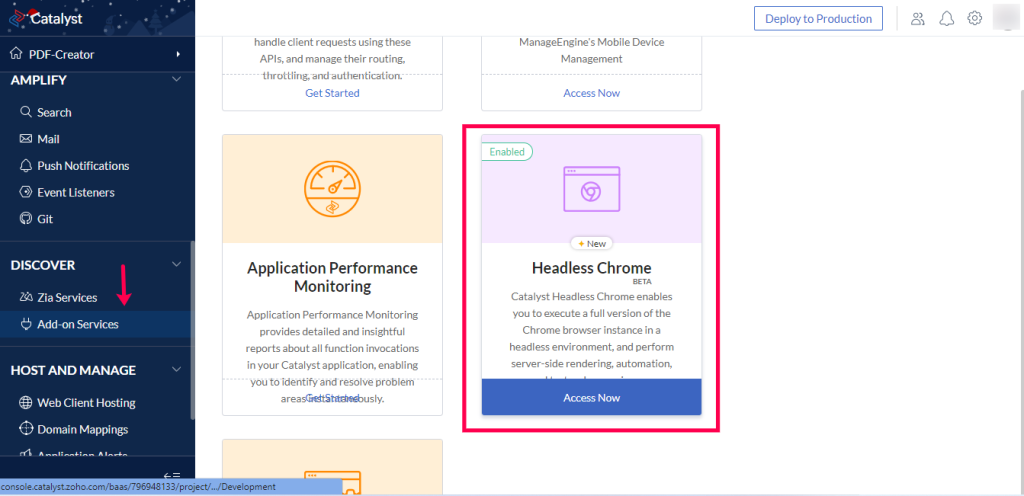
- Click on Access Now button, now you will have API Key and Websocket End Point.
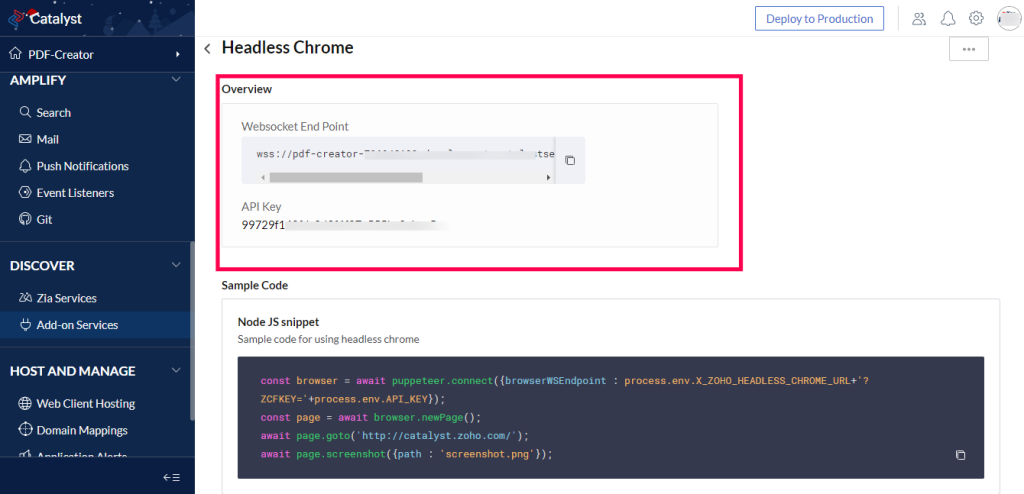
- Now you need to copy and paste API Key and Websocket End Point in .env variable in Functions tab and click on Save.
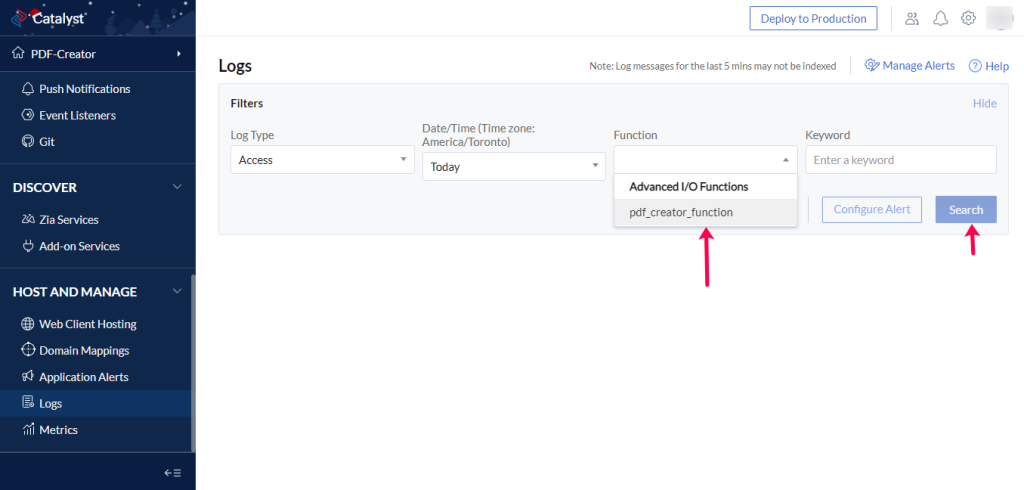
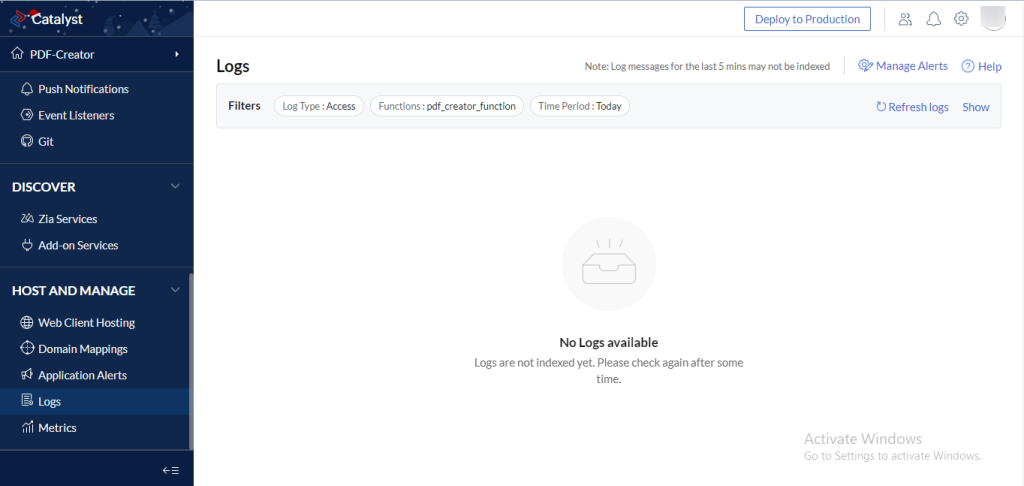
- Now click on logs tab, here you will find error(if any). For this, you need to select the name of the application then click on Search.
Now, the project has been created.
tadalafil
tadalafil
augmentin for uti
augmentin for uti
rifampicin
rifampicin
dexlansoprazole cap 60mg generic
dexlansoprazole cap 60mg generic
who manufactures stendra
who manufactures stendra
semaglutida para bajar de peso efectos secundarios
semaglutida para bajar de peso efectos secundarios
semaglutida comprimido emagrece valor
semaglutida comprimido emagrece valor
semaglutid köpa online sverige
semaglutid köpa online sverige
saxenda genérico ems
saxenda genérico ems
ketorolac tromethamine pharmacokinetics
ketorolac tromethamine pharmacokinetics
ivermectin scabies data
ivermectin scabies data
minoxidil beginner questions
minoxidil beginner questions